I have been terrible at giving real tutorials and the solar chandelier is a perfect example at that. So I thought I would give a real tutorial, since I just splashed it up here with the worlds worst pictures (I mean really, I thought those were post worthy?) and went on my merry way. Yeah, I do that sort of thing all the time.
So, if you want to make your own solar chandy for your patio, deck or even to hang from a tree in your garden, then let's get busy!
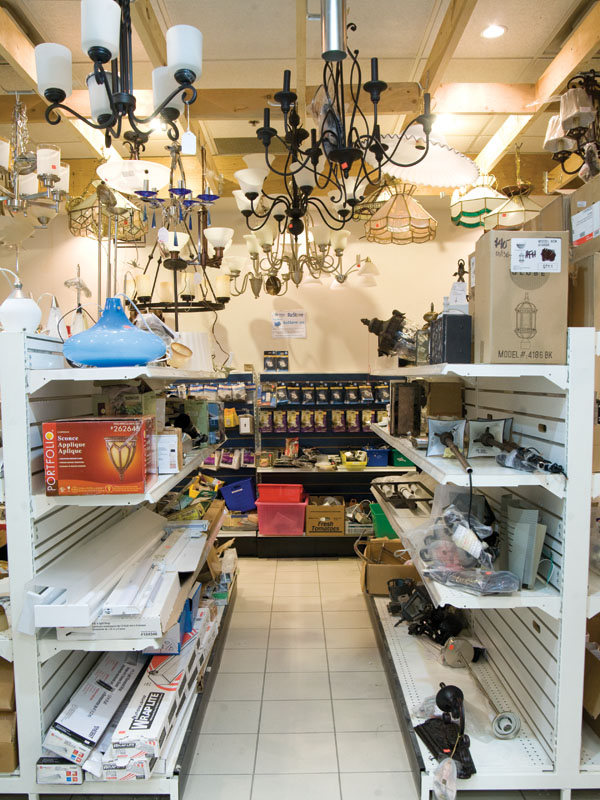
First, you need an ugly chandelier with good bones. Habitat for Humanity Restore and Goodwill usually have some great ones for just a few dollars.
Here was mine in it's beauty. Mr FreckleFace saw this in the back of the car and shuddered. It was $6.99. I already had the can of spray paint (I may or may not have enough paint/spray paint to stock my own store...)
Now, I simply cut the wire going up through the chain with scissors. I did not rip out the light bulb sockets because you will need those to hold your solar lights.
Go ahead and spray paint that beauty any color you want. I chose red because I thought it would give the deck a little CA-POW. But you may want just a little ba-zing. Do what you'd like.
Now head to any store that sells solar lights. I headed over to Walmart and found these - They are around ~4 each, which is a little pricey, but I was really wanting something a little sparkly. There are so many options, some even changed colors!
I thought the round was a little modern, and fun. They have a crackle glass and they are pretty even when not glowing.
Now, your light will come with a stem to poke into the ground. You have to pull it off to get the battery tag out, which is what will activate the bulb. So pull that stem off and toss it. Activate your bulb by yanking the tab, and get your hot glue gun plugged in.
Because the little battery pack is on the bottom of the solar light, you want to be careful not to put glue over that. So, I just put some glue around the edge of the light stem , this will not only help it stick in the chandelier's light socket, but also make it from being lopsided.
Now push that light down into the socket and make sure your glue is hidden. You may need to add a little more to make it stand up just right. Now just in case you are worried about wind, I used an S hook screwed into the pergola wood and just hung the chain from it. We get SERIOUS wind here, and I haven't had to take it down yet.
Are you ready to enjoy some beauty for just a teensy amount of work? I hung my chandy from our Pergola over the table. You could hang it from a tree in a corner of your garden. Or from the center of your patio gazebo. The options are endless!
There you have it! Now...I'm going to go make a Margarita and enjoy all of my hard work.
I'm on Facebook now! Can you believe it? Me either, but I hope you'll jump over and say hi, and "like" me...because I like you too!
https://www.facebook.com/FreckleFaceatHome
xo-Chris
Linking up to:


.JPG)
.JPG)
.JPG)
.JPG)
.JPG)
-001.JPG)


-001.JPG)
